How to Diagnose and Fix Black Lines on Your Laptop Screen
Black lines on a laptop screen are typically caused by physical hardware failure (LCD panel or ribbon cable) or software driver conflicts . To find the cause in 60 seconds: Restart into BIOS/UEFI . If the lines remain, your hardware is damaged. If they disappear, it is a software issue. Hardware repairs generally cost between $180 and $275 , while software fixes are free.
Seeing black lines suddenly appear across your laptop screen is a frustrating experience that often triggers immediate concern about the cost of a replacement. These artifacts can manifest as thin vertical needles, thick horizontal bands, or flickering distortions that change as you move the laptop lid. While your first instinct might be to assume the screen is broken, there are several scenarios where the issue is actually rooted in the graphics software or a loose internal connection.
The primary goal of this guide is to help you determine if you are facing a $0 software adjustment or a significant hardware repair. By following a structured diagnostic framework, you can identify the root cause with high accuracy before spending money at a repair shop. According to technical experts at Dave's Computers , black lines are frequently related to the LCD panel itself, but ruling out the ribbon cable and drivers is an essential first step.
Three Quick Tests to Find the Root Cause Immediately
Before you attempt to disassemble your laptop or reinstall your operating system, use these three "Golden Rule" tests. They are designed to isolate the failure to either the software environment, the graphics processing unit (GPU), or the physical display assembly.
The BIOS or UEFI Test
The BIOS (Basic Input/Output System) operates independently of your Windows or macOS environment. If the black lines are visible while you are in the BIOS menu, the problem is definitely hardware-related. If the screen is perfectly clear in the BIOS but shows lines once your desktop loads, the issue is caused by your graphics drivers or display settings.
To enter BIOS, restart your laptop and repeatedly tap the designated key (usually F2, F10, or Del ) before the logo appears. This is widely considered one of the most reliable ways to separate hardware failure from software glitches.
The External Monitor Test
Connect your laptop to an external monitor or a TV using an HDMI, DisplayPort, or USB-C cable. Observe the external display carefully. If the external screen is clear while the laptop screen shows lines, your laptop's graphics card is functioning correctly. This confirms the fault lies within the laptop's internal display panel or the video cable running through the hinge.
However, if the lines appear on both screens, the graphics chip on your motherboard is likely failing. This is a more serious issue that often requires a motherboard replacement rather than just a new screen.
The Screenshot Test
This is a clever diagnostic trick used by many IT professionals. Take a screenshot of your desktop (using the Print Screen key or Snipping Tool) while the lines are visible. Open that image on a different device, such as your phone or another computer. If the lines are not in the image, the failure is physical (the LCD cannot display the image correctly). If the lines are visible in the screenshot, the GPU is actually rendering those lines, meaning the problem is software or GPU-based.
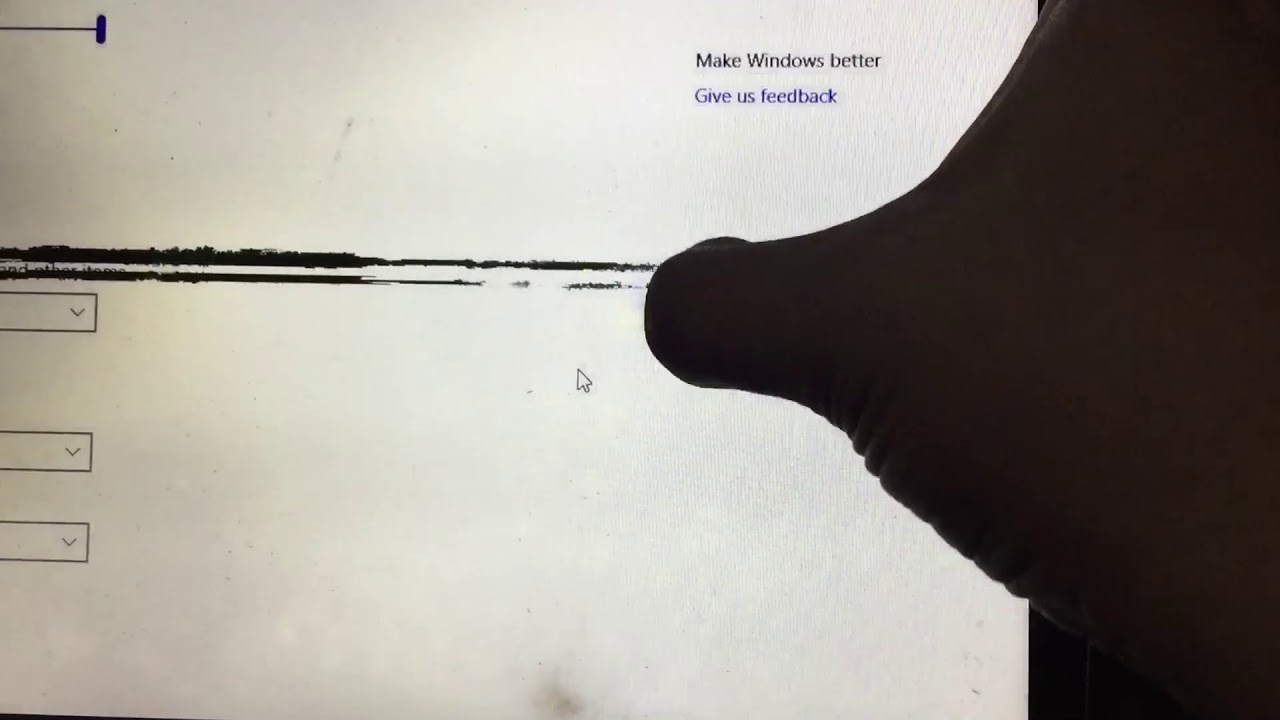
Image source: YouTube
Identifying Hardware Failures by Visual Symptoms
The physical appearance of the lines can tell you exactly which component has failed. Laptop screens are complex sandwiches of glass, liquid crystals, and driver circuitry. Different failures produce distinct visual patterns.
Vertical Lines and Column Driver Issues
Single, pixel-thin vertical lines that run from the very top to the very bottom of the screen usually indicate a failed column driver . Each column of pixels is controlled by a tiny chip bonded to the edge of the glass. If one of these bonds weakens or the chip fails, that entire column loses its signal. Unfortunately, these bonds are microscopic and cannot be repaired by hand; a full LCD panel replacement is typically required.
Horizontal Bands and TCON Board Failures
Horizontal lines or thick bands often point toward the TCON (Timing Controller) board . This board acts as the "brain" of the display, translating the raw data from the GPU into the specific rows and columns of the screen. When the TCON board struggles, you may see flickering horizontal lines, "ghosting" where images stick to the screen, or a screen that appears to be split in half. While some high-end monitors have replaceable TCON boards, in most laptops, the TCON is integrated into the LCD assembly.
Flickering Lines and Hinge Cable Wear
If the lines appear, disappear, or change color when you tilt the laptop lid back and forth, the culprit is almost certainly the EDP or LVDS ribbon cable . This cable carries the video signal from the motherboard, through the mechanical hinge, and into the screen. Over years of opening and closing the laptop, the tiny wires inside this cable can fray or become pinched. This is a top-tier outcome for the user, as a replacement cable often costs less than $30, though the labor to install it can be intensive.
Software Solutions for Display Artifacts
If your BIOS test was successful (no lines in BIOS), you are in luck. Your hardware is likely fine, and the issue is a conflict in the software layer. This often happens after a major Windows update or when a new game installation overrides your display settings.
Graphics Driver Reinstallation Order
Many modern laptops use "Switching Graphics," where an integrated Intel chip handles basic tasks and a dedicated NVIDIA or AMD chip handles high-performance tasks. A common mistake is updating only one of these drivers. For the best results, you should follow the "Intel-First" rule found in enthusiast forums:
- Uninstall both the integrated and dedicated graphics drivers using a tool like Display Driver Uninstaller (DDU).
- Install the latest Intel Graphics driver first.
- Restart the computer.
- Install the NVIDIA or AMD driver second.
Adjusting Refresh Rates and Resolution
Sometimes, a laptop screen begins to fail at its maximum rated speed. If you have a high-refresh-rate screen (120Hz or 144Hz), try lowering it to 60Hz in the Windows Display Settings. If the lines disappear at a lower refresh rate, it indicates that the panel's timing controller is aging and can no longer keep up with high-speed signals. While not a "fix," this can extend the usable life of the laptop for several months.
Brand Specific Diagnostic Shortcuts
Major manufacturers include built-in hardware diagnostic tools that can test the screen without even booting into an operating system. These are often more thorough than a simple BIOS check.
| Brand | Shortcut / Method | What it Does |
|---|---|---|
| Dell | Hold 'D' + Power Button | Runs the LCD BIST (Built-In Self-Test), cycling the screen through solid colors. |
| HP | Press 'F2' or 'Esc' at boot | Opens the System Diagnostics menu to run a dedicated "Video Test." |
| Lenovo | F10 or Novo Button | Accesses UEFI Diagnostics to check for pixel and driver failures. |
| ASUS / Acer | F2 or Del at boot | Enters BIOS to check for persistent visual artifacts. |
Repair Costs and the Two Year Rule
If your diagnostics confirm a hardware failure, you must decide whether to repair the device or replace it entirely. According to data from Microsoft Support communities and independent repair shops, the average cost for a standard 1080p laptop screen replacement ranges from $180 to $275 , including parts and labor.
The Repair vs. Replace Matrix
Industry experts often recommend the "2-Year Rule" for budget and mid-range laptops. If your laptop is more than two years old and was originally purchased for under $600, spending $250 on a screen repair may not be a wise investment. The battery, keyboard, and storage drive are also likely nearing the end of their lifecycle.
- Under 1 Year Old: Always repair (usually covered under manufacturer warranty).
- 1–2 Years Old: Repair if the laptop is a high-end model (MacBook, XPS, Gaming rigs).
- 3+ Years Old: Consider replacement unless the repair is a simple $30 ribbon cable fix.
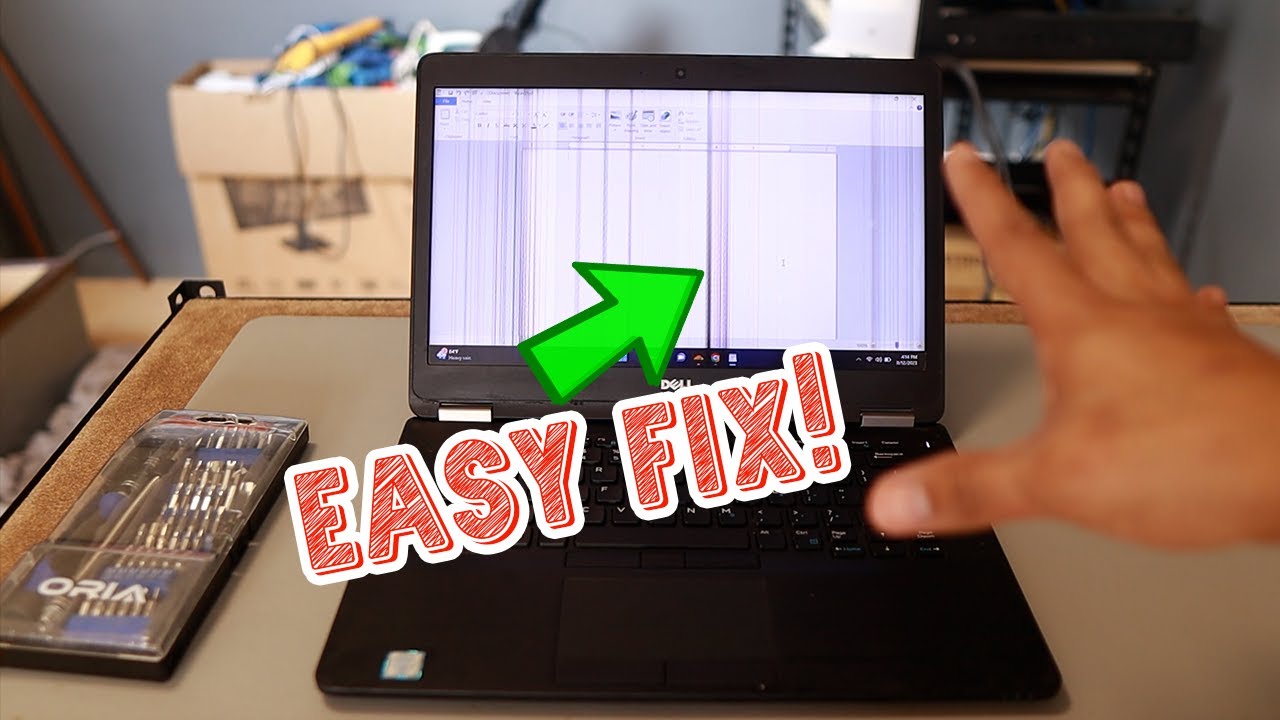
Image source: YouTube
How to Prevent Black Lines from Returning
Once you have fixed your screen, taking preventive measures can ensure the issue does not return. Most hardware-based black lines are the result of cumulative physical stress rather than a single catastrophic drop.
- Avoid "Screen Pinching": Never pick up your laptop by the top of the screen. This puts immense pressure on the LCD layers and can snap the delicate column driver bonds.
- Check the Keyboard: Before closing your laptop, ensure there are no crumbs, pens, or debris on the keyboard. Even a small object can create a pressure point that cracks the internal glass when the lid is shut.
- Manage Heat: Excessive heat can degrade the adhesive bonds inside the display. Ensure your laptop's cooling fans are clean, especially if you use it for gaming or video editing.
- Use a Protective Sleeve: When carrying your laptop in a backpack, use a padded sleeve. Pressure from books or other items against the laptop lid is a leading cause of "ink blot" patterns and horizontal lines.
Frequently Asked Questions
Yes, black lines can spread if they are caused by physical damage or overheating. If the internal glass is cracked (even if the outer layer feels smooth), the liquid crystals can leak, creating an "ink blot" effect that grows. Similarly, if a connection is failing due to heat, continued use can cause more adjacent connections to fail, leading to thicker bands of lines.
A factory reset will only fix the lines if the problem is entirely software-based. Before performing a time-consuming reset, use the BIOS test mentioned earlier. If the lines are visible in the BIOS, a factory reset will not help, as the issue is physical hardware. If the BIOS is clear, a reset is a strong option to clear out corrupted drivers.
Generally, it is safe to use the laptop, but it is often a sign of an underlying issue. If the lines are caused by a failing GPU, the laptop may eventually refuse to boot or suffer from random crashes. If the lines are just a result of a damaged LCD panel, you can continue using it indefinitely, perhaps by connecting it to an external monitor for important work.
A ribbon cable (EDP/LVDS cable) typically costs between $15 and $35. However, the labor cost can be significant because the technician must disassemble both the laptop base and the screen assembly to route the new cable through the hinge. Expect to pay between $100 and $150 for a professional repair, which is still much cheaper than a full screen replacement.
Software tools designed to "unstick" pixels by rapidly cycling colors are effective for single stuck pixels (red, green, or blue dots). However, they are almost never effective for solid black lines. Black lines usually represent a total loss of signal to a row or column, which software cannot restore if the physical connection is broken.
The Bottom Line on Laptop Screen Lines
Dealing with screen artifacts requires a calm, methodical approach to avoid unnecessary expenses. By following the diagnostic steps outlined today, you can accurately pinpoint the failure point.
- Perform the BIOS test first to immediately rule out Windows or driver issues.
- Use an external monitor to verify if your graphics card (GPU) is still healthy.
- Check the hinge cable by moving the lid; flickering suggests a cheap cable fix rather than a new screen.
- Identify the pattern : Vertical lines are usually panel failure, while horizontal lines often involve the TCON board.
- Follow the Intel-First rule when reinstalling drivers to prevent software-based artifacts.
- Apply the 2-Year Rule when deciding if a $200+ repair is worth the investment for an older device.
If your lines appear in the BIOS and persist on an external monitor, your next step should be consulting a certified technician for a hardware quote.
-
Topic: Why is there a black line on my screen? : r/computershttps://www.reddit.com/r/computers/comments/17h2nkz/why_is_there_a_black_line_on_my_screen/
-
Topic: Solved: Black Lines on Computer Screenhttps://h30434.www3.hp.com/t5/AI-PCs/Black-Lines-on-Computer-Screen/td-p/9448485
-
Topic: FIXED: Vertical Black Lines on Laptop Screen | Working Tutorialhttps://www.youtube.com/watch?v=-a-73RZrXGc

How to Fix Vertical and Horizontal Lines on a Laptop Screen
Troubleshoot vertical and horizontal lines on your laptop screen. Learn to identify hardware vs software issues and find repair solutions.


How to Fix Black Vertical Lines on Your Monitor and Save Your Screen
Diagnose and fix black vertical lines on your monitor or laptop. Learn to test your GPU, cables, and panel with our expert hardware guide.

How to Identify and Repair a Dead Pixel on Your Laptop Screen
Fix stuck or dead pixels on your laptop screen with software, pressure, and warranty tips. Expert DIY repair guide for all display types.